Installing decorative wall panels is a simple and effective way to enhance the look of any room. Whether you’re aiming for a sleek, modern finish or a cozy, rustic feel, wall panels offer endless design possibilities. In this guide, we’ll walk you through the installation process for different types of decorative wall panels, including important tips and tools to help you achieve a professional-looking result.
Step 1: Choose the Right Decorative Wall Panel
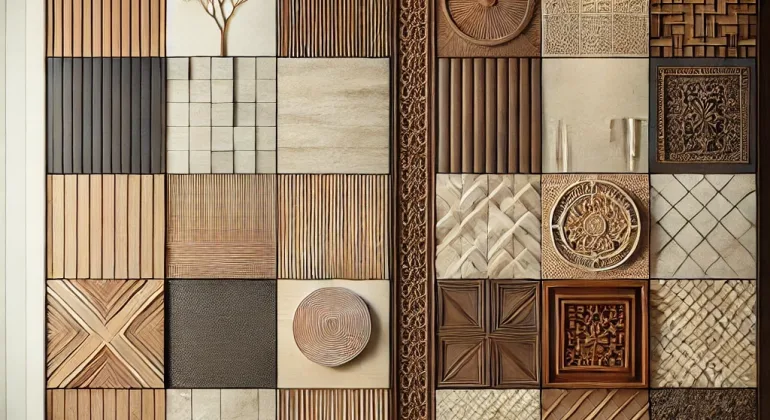
Before jumping into the installation, it’s important to select the right type of decorative wall panel that suits your style and needs. Panels come in various materials like wood, MDF, PVC, and 3D designs. Consider the following options:
- Wood Wall Panels: These are great for adding warmth and a natural feel to a room. Ideal for living rooms, bedrooms, or dining areas.
- MDF Panels: These are smooth and versatile, often used in modern or minimalist interiors. MDF is easy to paint and cost-effective.
- PVC Panels: Perfect for high-moisture areas like bathrooms or kitchens. They’re durable and waterproof.
- 3D Wall Panels: These add texture and dimension to a flat surface, making them perfect for feature walls.
Once you’ve chosen your preferred material, make sure to measure your wall to determine how many panels you’ll need.

Step 2: Prepare Your Tools and Materials
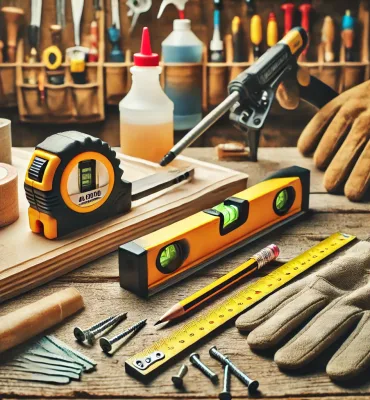
To install decorative wall panels, you’ll need a few basic tools:
- Measuring tape
- Spirit level
- Pencil
- Fine-tooth saw (for cutting wood or MDF)
- Adhesive (for lighter panels like PVC or MDF)
- Nails or screws (for heavier wood panels)
- Caulking gun (for adhesive application)
- Sandpaper (for smoothing edges)
- Safety gear (gloves, goggles)
Additionally, depending on the size and weight of your panels, you may need a drill and anchors for secure attachment.
Step 3: Prepare the Wall Surface
Before installation, it’s crucial to prepare your wall. Make sure the surface is clean, dry, and smooth. If the wall has bumps or uneven areas, sand them down or use filler to create an even surface. This is especially important for MDF or 3D panels, where even slight imperfections can affect the final appearance.
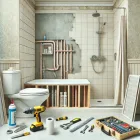
If you’re installing PVC panels in a bathroom, ensure the wall is moisture-resistant. You may also want to consider applying a primer to improve adhesion.
Step 4: Measure and Plan the Layout
The most crucial step in any wall panel installation is precise measuring. Here’s how to get it right:
- Use a measuring tape to mark the height and width of your wall.
- Plan the layout by placing panels on the floor to visualize how they will fit on the wall.
- If you’re working with wood or MDF panels, start from the bottom corner of the wall and work your way up to ensure an even installation.
It’s always a good idea to leave a small expansion gap (1/8 inch) at the top and bottom for natural materials like wood, as they can expand or contract with changes in temperature or humidity.
Step 5: Cut Panels to Size (If Needed)
In most cases, you’ll need to trim the panels to fit the dimensions of your wall. Here’s how to do it:
- Use a fine-tooth saw for cutting wooden or MDF panels to avoid chipping.
- For PVC or 3D panels, a utility knife or a handsaw can make cleaner cuts.
- Double-check your measurements before cutting to avoid mistakes.
- Sand the edges of the cut panels for a smooth finish.
Remember, accurate cuts will make installation easier and ensure the panels fit snugly together.
Step 6: Apply Adhesive or Attach Panels
Once your panels are cut and ready, you can begin the installation. There are two main methods to attach decorative wall panels:
1. Adhesive Method (for MDF, PVC, or lighter wood panels)
- Apply adhesive to the back of each panel in a zigzag pattern or a series of evenly spaced dots.
- Press the panel firmly against the wall and hold it in place for a few seconds to ensure it sticks.
- Use a spirit level to ensure the panel is straight before the adhesive sets.
- For added security, you can apply nails at the top and bottom edges of the panels (especially for wood or MDF panels).
2. Nail/Screw Method (for heavier wood panels)
- If you’re working with heavier wood panels, it’s best to use nails or screws for a more secure attachment.
- Pre-drill holes in the panels and the wall to prevent splitting the wood.
- Attach the panels to the wall using finishing nails or screws, and make sure they are level as you work.
- Use a nail punch to sink the nails slightly below the panel surface, and fill the holes with wood filler for a smooth finish.
Step 7: Fill Gaps and Finish
Once all the panels are installed, check for any gaps between panels or along the edges of the wall. You can use caulk or filler to close these gaps, ensuring a seamless look. For wooden panels, you may also want to apply a stain, paint, or sealant to protect the surface and enhance its appearance.
For PVC panels, simply wipe them down to remove any adhesive residue.
Step 8: Clean Up and Enjoy
Once the installation is complete, clean the area by wiping down the panels and removing any dust or debris. Stand back and admire your new feature wall!
Conclusion
Installing decorative wall panels may seem like a daunting task, but with the right tools and careful planning, it can be a rewarding DIY project that transforms your space. Whether you’re installing wood wall panels in your living room or PVC panels in your bathroom, the process is relatively straightforward.
If you’re looking for help with installing wall panels or need professional advice on choosing the right material for your space, don’t hesitate to contact us. We’re here to make your next renovation project a breeze!
This guide should answer most of the technical questions, such as how to panel a wall cheaply or how to hang decorative wall panels. For more detailed steps and expert tips, feel free to visit our site and explore our services.